
始めに
ML-Agentsの本を大体読んだので自分で簡単なシューティングゲームを作って、それを学習させてみようと思います。
注意としてML-Agentsの解説は少しありますが、この記事を読んでML-Agentsを動かせるようにはならないのでわからない箇所がある場合は以下の記事を参考にすると良いと思います。
今回のプロジェクトはgithubに上げています。
実行環境
Unity 2019.4.1f1
ML-Agents Release3
Python 3.7.6
シューティングゲームを作る
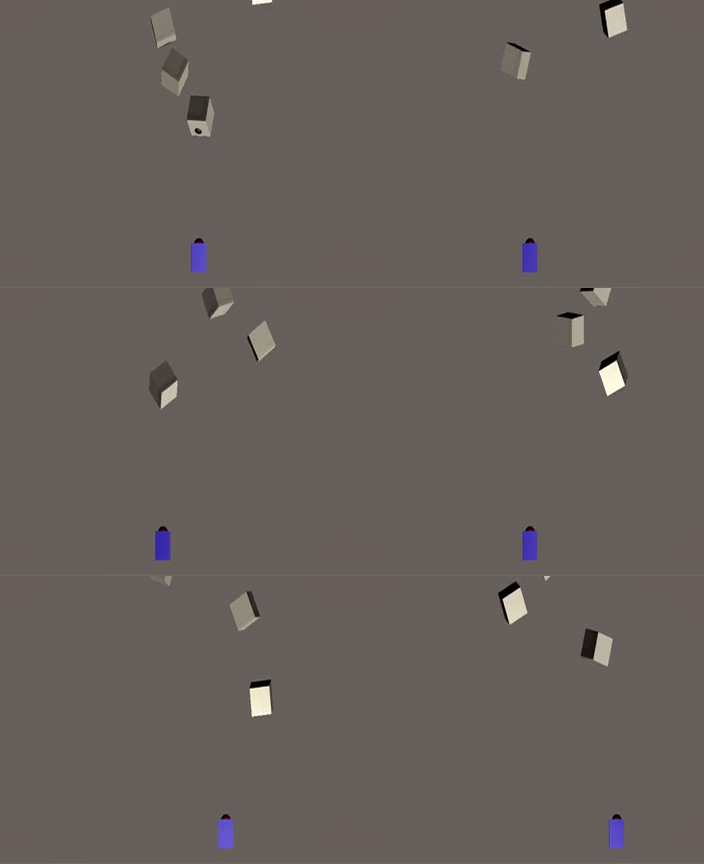
シューティングゲームの仕様は以下の通りです。
- プレイヤーは左右に移動できる
- プレイヤーは弾を発射できる、発射した後にインターバルがある
- 敵は上から下に一直線に下りてくる
- 敵は弾に当たると消えて、弾も消える
- 敵はプレイヤーと同じ位置に来たら消える
- 敵は数秒おきに、ランダムの位置に生成される
学習の流れ
1. 状態の取得
Raycastを使用して敵の情報を取得します。詳しくは後程説明します。

2. 行動決定
ポリシーをもとにエージェントが行う各行動の状態を決定します。ポリシーとは状況に応じて行動を決める戦略を意味します。
今回のゲームでプレイヤーが行う行動とその行動の状態は以下の通りです。
- 移動(状態:移動しない、右に移動、左に移動)
- 弾を発射(状態:発射しない、発射する)
なので行動決定では右か左に移動するもしくは移動しないか、弾を発射するかしないかを決めます。
3. 行動実行
2.で決定された行動を実行してシーンに反映させます。
ここでは実際にプレイヤーを移動させたり弾を発射したりします。
4. 報酬取得
3.で行った行動の結果で得られる報酬を取得します。
弾が敵に当たったら加点、敵がプレイヤーの位置まで来たら減点をします。 また、報酬の合計値はエピソード単位で求めます。エピソードとは学習の訓練1回分を意味します
5. ポリシー更新
エピソードが完了したら、4.で得られた報酬からポリシーの更新をします。ポリシーの更新はPython側で行われるため、Unity側では特に意識しなくても大丈夫です。
この1~5を繰り返して高得点を取れるポリシーを求めていきます。
学習の準備
Agentの定義
Agentとは行動の主体となるものです。今回はプレイヤーとなります。
プレイヤーとなるコンポーネントはAgentクラスを継承したものとなります。
PlayerAgent.cs
using System.Collections;
using System.Collections.Generic;
using UnityEngine;
using Unity.MLAgents;
using Unity.MLAgents.Sensors;

public class PlayerAgent : Agent
{

    [SerializeField]
    private GameObject m_bullet;

    [SerializeField]
    private float m_shotIntervalTime;

    [SerializeField]
    private float m_moveSpeed;

    [Header("動ける幅の絶対値")]
    [SerializeField]
    private float m_movableWidth;

    [SerializeField]
    private DestroyCounter m_destroyCounter;

    private float m_time = 0;

    [SerializeField]
    private Transform m_ShootingGameTransform;

    public override void Initialize()
    {
        m_time = 0;
    }

    public override void OnEpisodeBegin() {
        m_destroyCounter.Reset();
    }

    public override void OnActionReceived(float[] vectorAction) {

        int moveOperation = (int)vectorAction[0];
        int shotOperation = (int)vectorAction[1];

        Move(moveOperation);
        Shot(shotOperation);
    }

    private void Move(int operation)
    {

        Vector3 position = transform.localPosition;

        if (operation == 1)
            position.x = Mathf.Min(position.x + m_moveSpeed * Time.deltaTime, m_movableWidth);
        else if (operation == 2)
            position.x = Mathf.Max(position.x - m_moveSpeed * Time.deltaTime, -m_movableWidth);

        transform.localPosition = position;

    }

    private void Shot(int operation)
    {

        m_time += Time.deltaTime;

        // インターバル中もしくは弾を発射しない場合は処理を行わない
        if (m_time < m_shotIntervalTime || operation == 0)
            return;

        var newBullet = Instantiate(m_bullet, transform.position, Quaternion.identity, m_ShootingGameTransform);
        Destroy(newBullet, 2f);
        m_time = 0;

    }

    public override void Heuristic(float[] actionsOut) {

        actionsOut[0] = 0;
        actionsOut[1] = 0;

        if(Input.GetKey(KeyCode.RightArrow) && !Input.GetKey(KeyCode.LeftArrow))
            actionsOut[0] = 1;
        else if(Input.GetKey(KeyCode.LeftArrow) && !Input.GetKey(KeyCode.RightArrow))
            actionsOut[0] = 2;

        if(Input.GetKey(KeyCode.Space))
            actionsOut[1] = 1;

    }

}
OnEpisodeBegin()はエピソードを開始する前に呼ばれる関数です。ここでは倒した敵の数をリセットしています。DestroyCounterについては後程載せます。
    public override void OnEpisodeBegin() {
        m_destroyCounter.Reset();
    }
OnActionReceived()では行動決定で得られた値から実際に行動を行います。 vectorAction[0]は0 ~ 2、vectorAction[1]は0 ~ 1の値が入ります。
これらの値の範囲はBehavior Parameterコンポーネントで設定します。(後述)
    public override void OnActionReceived(float[] vectorAction) {

        int moveOperation = (int)vectorAction[0];
        int shotOperation = (int)vectorAction[1];

        Move(moveOperation);
        Shot(shotOperation);
    }

    private void Move(int operation)
    {

        Vector3 position = transform.localPosition;

        if (operation == 1)
            position.x = Mathf.Min(position.x + m_moveSpeed * Time.deltaTime, m_movableWidth);
        else if (operation == 2)
            position.x = Mathf.Max(position.x - m_moveSpeed * Time.deltaTime, -m_movableWidth);

        transform.localPosition = position;

    }

    private void Shot(int operation)
    {

        m_time += Time.deltaTime;

        // インターバル中もしくは弾を発射しない場合は処理を行わない
        if (m_time < m_shotIntervalTime || operation == 0)
            return;

        var newBullet = Instantiate(m_bullet, transform.position, Quaternion.identity, m_ShootingGameTransform);
        Destroy(newBullet, 2f);
        m_time = 0;

    }
Heuristic()は学習を行うに当たっては意味を持ちませんが、手動で操作する場合にはこの関数をオーバーライドする必要があります。
この関数をオーバーライドすることによってデバックをしたり、模倣学習のデータを生成することが出来ます。(今回模倣学習については行いません)
その他のプログラムの作成
かなり雑に作ったのでクラス関係が複雑になってるかもしれません。
Enemyクラスでは動きと当たり判定について書いています。
Enemy.cs
using System.Collections;
using System.Collections.Generic;
using UnityEngine;

public class Enemy : MonoBehaviour
{

    [SerializeField]
    private float m_velocity;

    [SerializeField]
    private float m_rotateSpeed;

    private Quaternion m_rotation;

    [SerializeField]
    private Rigidbody m_rigidbody;

    private DestroyCounter m_destroyCounter;

    // Start is called before the first frame update
    void Start()
    {
        // ランダムに回転するようにする
        Vector3 randomAxis = new Vector3(Random.Range(0, 360f), Random.Range(0, 360f), Random.Range(0, 360f));
        m_rotation = Quaternion.AngleAxis(m_rotateSpeed * Mathf.Deg2Rad, randomAxis);

        // 前に進める、回転させる
        m_rigidbody.velocity = new Vector3(0, 0, -m_velocity);
        m_rigidbody.angularVelocity = randomAxis.normalized * m_rotateSpeed * Mathf.Deg2Rad;
    }

    public void SetDestroyCounter(DestroyCounter destroyCounter) {
        m_destroyCounter = destroyCounter;
    }

    private void OnTriggerEnter(Collider other) {

        if(other.CompareTag("Bullet")) {
            Destroy(this.gameObject);
            m_destroyCounter.AddDestroyCount(true);     // 加点
        }
        else if(other.CompareTag("DestroyArea")) {
            Destroy(this.gameObject);
            m_destroyCounter.AddDestroyCount(false);    // 減点
        }

    }

}
EnemyMakerクラスは敵の生成を担当しています。
EnemyMaker.cs
    using System.Collections;
using System.Collections.Generic;
using UnityEngine;

public class EnemyMaker : MonoBehaviour
{
    [SerializeField]
    private float m_width;

    [SerializeField]
    private float m_respawnInterval;

    [SerializeField]
    private float m_respawnPositionZ;

    [SerializeField]
    private Enemy m_enemyPrefab;

    private float m_time = 0;

    [SerializeField]
    private DestroyCounter m_destroyCounter;

    [SerializeField]
    private Transform m_ShootintGameTransform;

    void Update()
    {

        m_time += Time.deltaTime;

        if(m_time >= m_respawnInterval) {
            m_time = 0;

            InstantiateEnemy();

        }

    }

    private void InstantiateEnemy() {

        Vector3 position = transform.position + new Vector3(Random.Range(-m_width, m_width), 0, m_respawnPositionZ);
        var enemy = Instantiate(
            m_enemyPrefab,
            position,
            Quaternion.Euler(Random.Range(0, 360f), Random.Range(0, 360f), Random.Range(0, 360f)),
            m_ShootintGameTransform);
        enemy.SetDestroyCounter(m_destroyCounter);

    }

}
DestroyCounterクラスではエピソード単位の敵の個数に応じた加点や減点を担当します。
DestroyCounter.cs
using System.Collections;
using System.Collections.Generic;
using UnityEngine;

public class DestroyCounter : MonoBehaviour
{

    [SerializeField]
    private int m_destroyCountPerEpisode;

    [SerializeField]
    private PlayerAgent m_playerAgent;

    private int m_destoryCount = 0;

    public void Reset() {
        m_destoryCount = 0;
    }

    public void AddDestroyCount(bool ToAddReward) {

        m_destoryCount++;

        // 報酬の計算を行う
        if(ToAddReward)
            m_playerAgent.AddReward(1.0f/m_destroyCountPerEpisode);
        else
            m_playerAgent.AddReward(-1.0f/m_destroyCountPerEpisode);

        // 指定された個数の敵を倒したら、1回分の訓練を終了
        if(m_destoryCount == m_destroyCountPerEpisode)
            m_playerAgent.EndEpisode();

    }

}
BulletクラスではEnemyに当たったら消える処理と前に進む処理が書かれています。
Bullet.cs
using System.Collections;
using System.Collections.Generic;
using UnityEngine;

public class Bullet : MonoBehaviour
{

    [SerializeField]
    private float m_velocity;

    [SerializeField]
    private Rigidbody m_rigidbody;

    // Start is called before the first frame update
    void Start()
    {
        // 前に進むようにする
        m_rigidbody.velocity = new Vector3(0, 0, m_velocity);
    }

    private void OnTriggerEnter(Collider other) {

        if(other.CompareTag("Enemy"))
            Destroy(gameObject);

    }

}
報酬取得処理について解説します。
EnemyクラスのOnTriggerEnterで弾に当たった場合は加点を、ステージの下に設置された当たり判定にあたった場合は減点をします。
DestroyCounterクラスのAddDestroyCountからAgent.AddReward関数を呼び出して報酬を計算します。
報酬の合計値はエピソード内の敵を倒しきれたら1、すべて倒せなかったら-1になるように1回の報酬を求めています。
また、指定された個数の敵が倒された場合はAgent.EndEpisode関数でエピソードを終了します。
// Enemy.cs 37行目
    private void OnTriggerEnter(Collider other) {

        if(other.CompareTag("Bullet")) {
            Destroy(this.gameObject);
            m_destroyCounter.AddDestroyCount(true);     // 加点
        }
        else if(other.CompareTag("DestroyArea")) {
            Destroy(this.gameObject);
            m_destroyCounter.AddDestroyCount(false);    // 減点
        }

    }
// DestroyCounter.cs 20行目
    public void AddDestroyCount(bool ToAddReward) {

        m_destoryCount++;

        // 報酬の計算を行う
        if(ToAddReward)
            m_playerAgent.AddReward(1.0f/m_destroyCountPerEpisode);
        else
            m_playerAgent.AddReward(-1.0f/m_destroyCountPerEpisode);

        // 指定された個数の敵を倒したら、1回分の訓練を終了
        if(m_destoryCount == m_destroyCountPerEpisode)
            m_playerAgent.EndEpisode();

    }
Unityでの設定
詳しいシーン設定の解説は省きますが、ML-Agentsの機能を使用している個所について解説していきます。
Behavior Parametersコンポーネント
PlayerオブジェクトにBehavior Parametersコンポーネントをアタッチします。
このコンポーネントで観測するデータの個数を指定したり、行動実行に必要なデータの型や個数を指定することができます。
VectorObservationは観測に使用するデータの個数を指定したり、保存する量を設定します。今回はデータを観測に使用しないのでSpace Size = 0、Stacked Vector = 1に設定します。

Vector Actionでは行動決定で使用するデータを設定します。Space TypeではContinuous(連続値)とDiscrete(離散値)があります。0 ~ 1の値が欲しい場合などではContinuous、0か1や0, 1, 2のどれかが欲しい場合はDiscreteを指定します。今回はDiscreteを設定します。
次にBranches SizeとBranch X Sizeについて軽く説明します。Branches Sizeは使用する値の個数を指定します。 プレイヤーが行う行動は移動と弾の発射の2つなのでBranches Size = 2と設定します。
Branch 0 Sizeは各行動がいくつの状態を持っているかを設定します。移動では移動しない、右に移動、左に移動の3つなのでBranch 0 Size = 3、弾の発射は発射しない、発射するの2つなのでBranch 1 Size = 2と設定します。 ここの内容がOnActionReceied関数と関係しているので注意していください。

Behavior Typeでは手動で操作するか、学習データを使用するか等を設定できます。ここは基本的にDefaultに設定していいと思います。(画像では実験で動かすためにHeuristic Onlyにしています。)
Decision Requesterの設定
Decision Requesterは行動の決定を要求するコンポーネントです。これがないと行動決定が行われず、全く動かないものになってしまいます。
Decision Periodでは何フレームごとに行動決定を要求するかを設定します。この値が大きいと動きが少なくなるので今回はDecision Period = 1に設定します。
Take Actions Between Decisionsは行動決定が要求されないフレームでもOnActionReceived()を実行するかを設定します。今回はあまり意味はないですがチェックしています。

PlayerAgentの設定
Agentクラスを継承したコンポーネントにはMax Stepという項目があります。
これは何フレーム実行したらエピソード(1回の訓練)を終えるかを指定します。今回はフレーム数ではなく、敵を倒した数でエピソードを指定するのでMax Step = 0(無制限)を指定します。

Ray Perception Sensor 3Dの設定
敵の検知にRay Perception Sensor 3Dコンポーネントを使用します。 これを使うことで、レイが当たったかや当たったオブジェクトの距離などを観測して学習に使用します。
Detectable Tagsでは判定に使用するタグを指定します。今回は敵のみなのでSize = 1、Element0 = Enemyとします。また、忘れずに敵オブジェクトのタグもEnemyに設定します。

Rays Per Directionでは左右にいくつレイを飛ばすか、Max Ray Degreesでは横に飛ばすレイの最大角度、Sphere Cast Radiusではレイの半径、Ray Lengthではレイの長さを指定します。
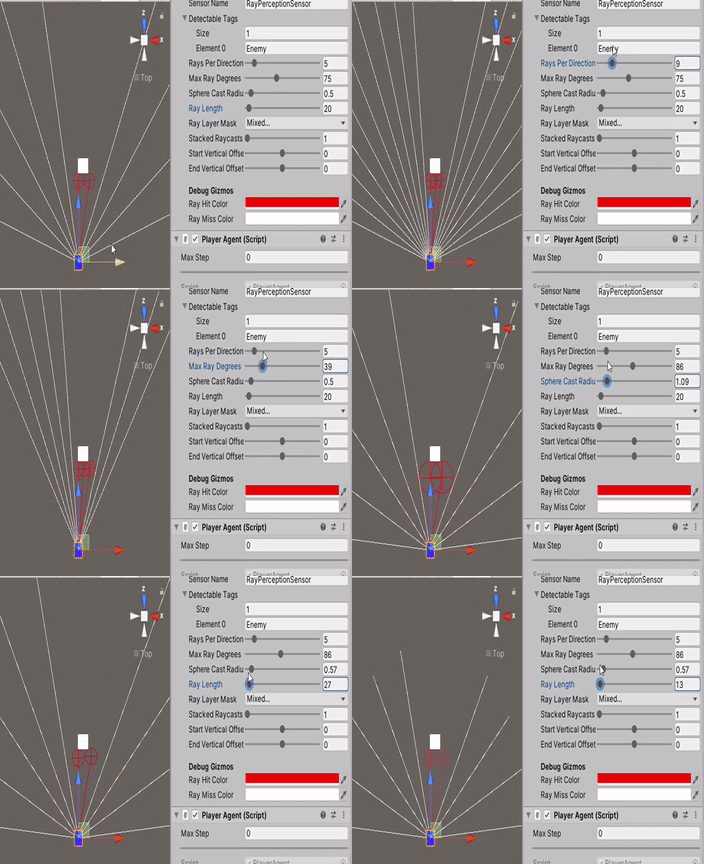
これらの値は以下のように設定しました。

最後にStacked Raycastsですが、これは学習に使用する過去のRay castのデータの個数を指定します。何度か試してみてStacked Raycasts = 1でも問題なかったですが、数値を変更しても面白いかもしれません。
訓練設定ファイル(.yaml)の作成
訓練設定ファイルについてはあまり解説しませんのでこちらを参照してください。
Unity ML-Agents 0.14.0 の訓練パラメータ|npaka|note
以下私が使用した訓練設定ファイルになります。
behaviors:
  ShootingGame:
    trainer_type: ppo
    hyperparameters:
      batch_size: 128
      buffer_size: 2048
      learning_rate: 0.0003
      beta: 0.005
      epsilon: 0.2
      lambd: 0.95
      num_epoch: 3
      learning_rate_schedule: linear
    network_settings:
      normalize: true
      hidden_units: 128
      num_layers: 2
      vis_encode_type: simple
    reward_signals:
      extrinsic:
        gamma: 0.99
        strength: 1.0
    keep_checkpoints: 5
    checkpoint_interval: 500000
    max_steps: 500000
    time_horizon: 64
    summary_freq: 10000
    threaded: true
一ヶ所注意しないといけない点は、2行目の"ShootingGame"とUnityのBehavior ParametersコンポーネントのBehavior Nameを一致させないといけません。

学習させる
準備が出来たら学習を開始していきます。始めはかなり無茶苦茶な動きになります。
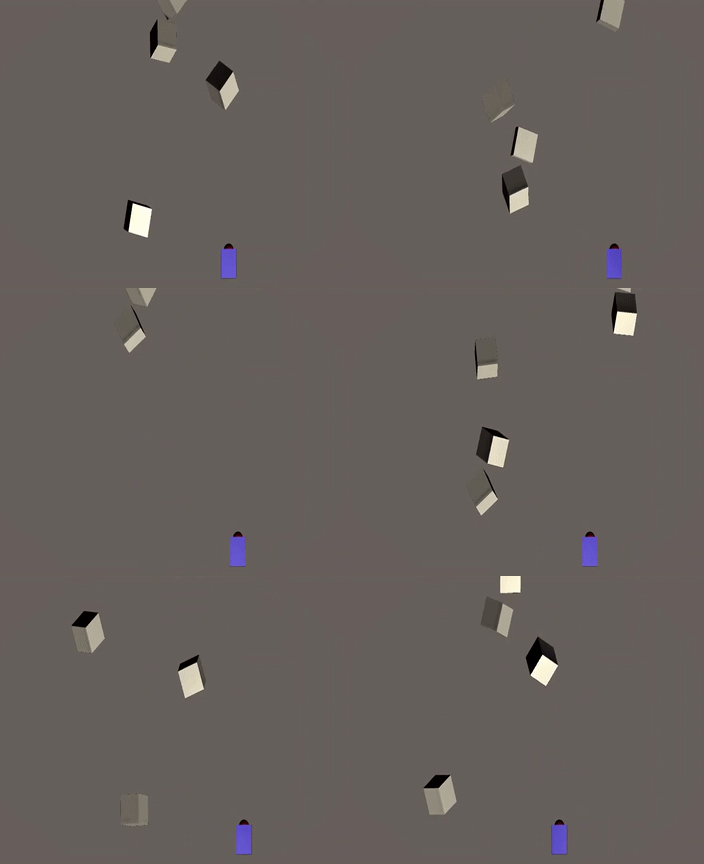
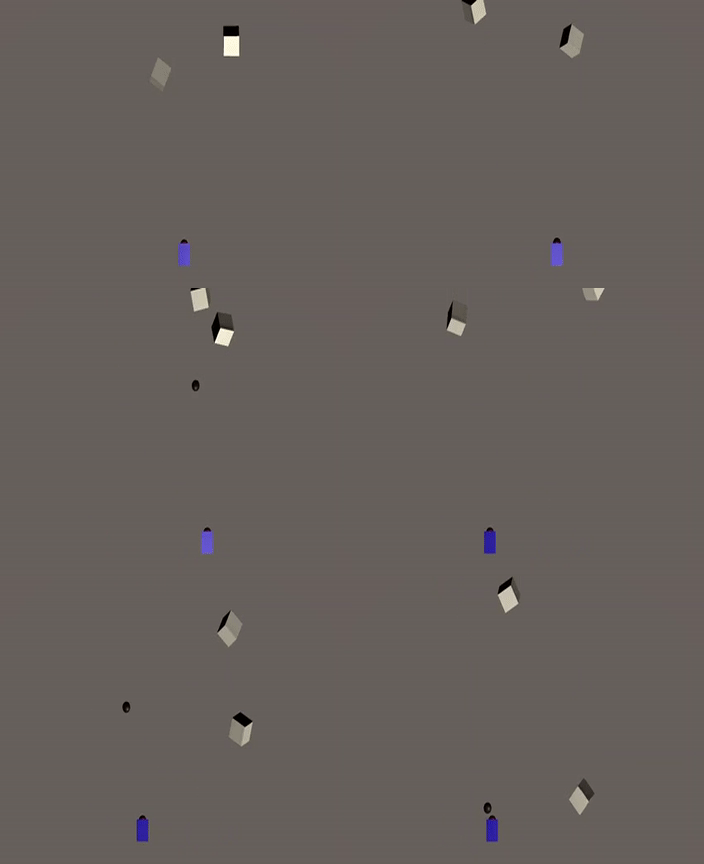
しかし、学習が進むにつれ敵がいるところに移動するようになります。
参考程度に学習過程のグラフが以下のようになります。 縦軸が報酬の合計値で横軸が学習を行ったフレーム数になります。報酬の合計値が9ぐらいまでは安定して上昇しますが、それ以上はなかなか安定しませんでした。

学習結果
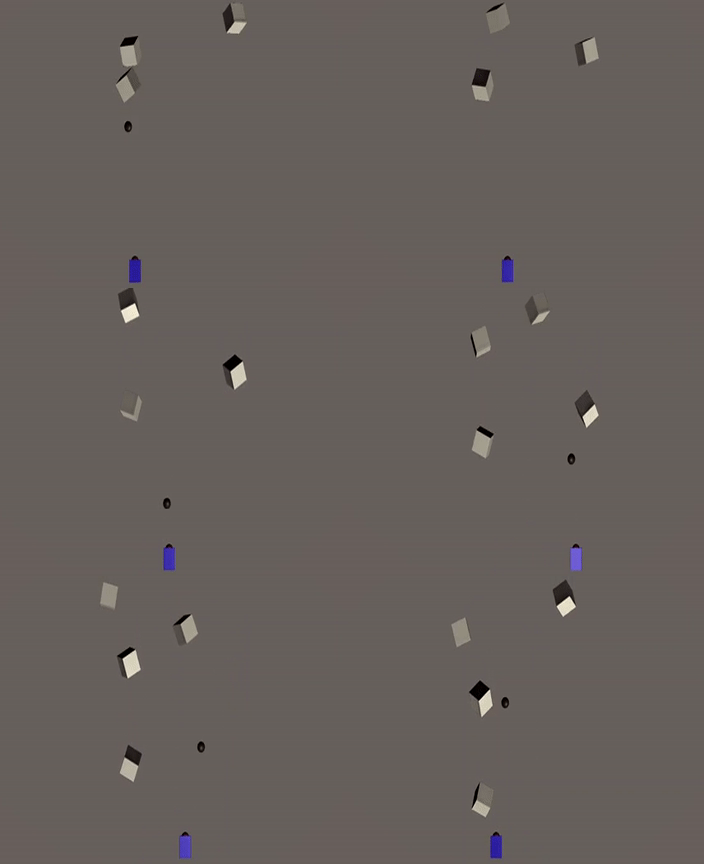
学習結果が以下のようになりました。ちゃんと敵を倒していくようになりました。
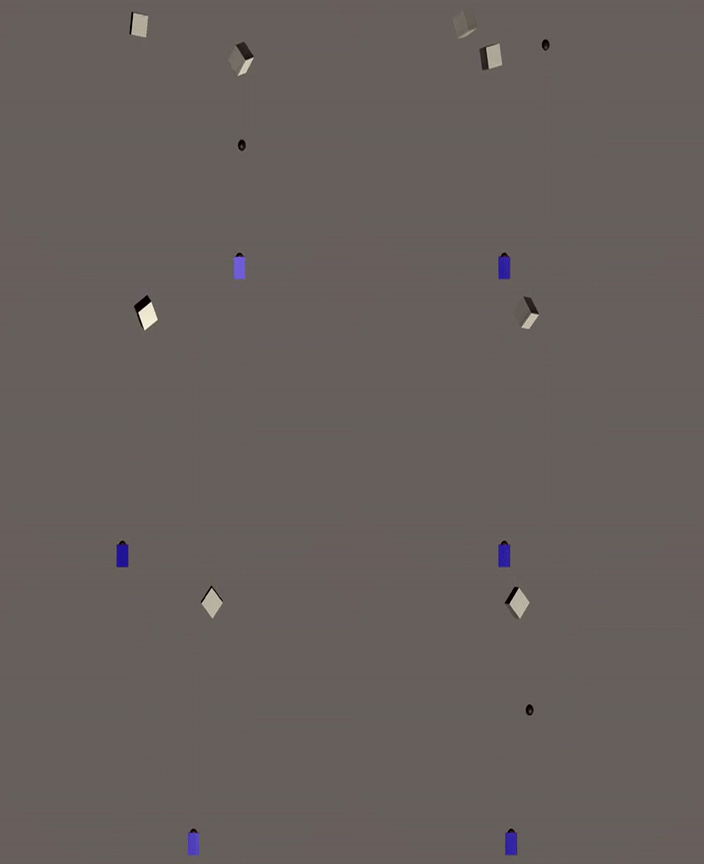
ただし、シチュエーションによってはどれを倒すか迷うような挙動をするときもあります。
感想
簡単なゲームの学習だったらすんなりと思ったものを作ることができました。学習のパラメータ等を切り替えるとまた違った結果が得られると思います。
また何かしらML-Agentsで出来そうだと思ったらサンプルを作って記事にしようと思います。
参考
ML-Agentsを勉強するうえでこちらの本が大変参考になりました。

Unity ML-Agents 実践ゲームプログラミング v1.1対応版 (Unityではじめる機械学習・強化学習)
- 作者:布留川 英一
- 発売日: 2020/08/14
- メディア: 単行本